Saving the configuration
Unlike earlier versions the configuration is no longer saved automatically. You will have to press the save button (the left most button in the toolbar) or press Save in the File menu. EventSentry will prompt to save the configuration when changes have been detected.
Overview
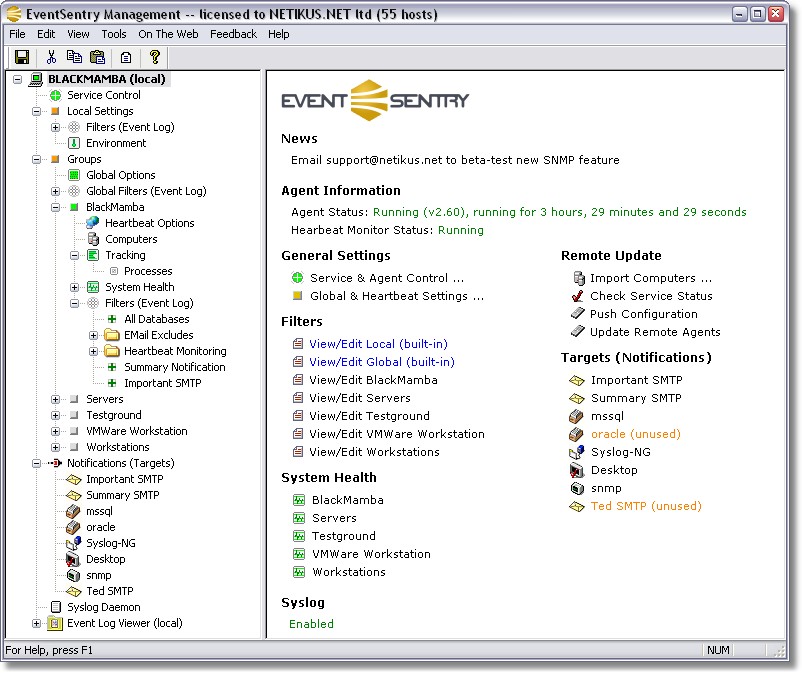
EventSentry is configured with the EventSentry Administration application. The main interface is divided into two parts: the tree pane on the left and the details pane on the right.
The tree pane shows all objects organized by type while the details pane shows all details regarding a selected object:

Right-Click
|
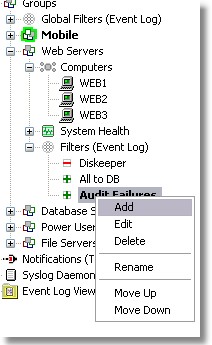
Right-click items located in the left tree pane to modify them. For example, to add a new filter you right-click the group where you would like to add the filter.
This works the same way for all objects, including targets and computer objects. |
Left-Click
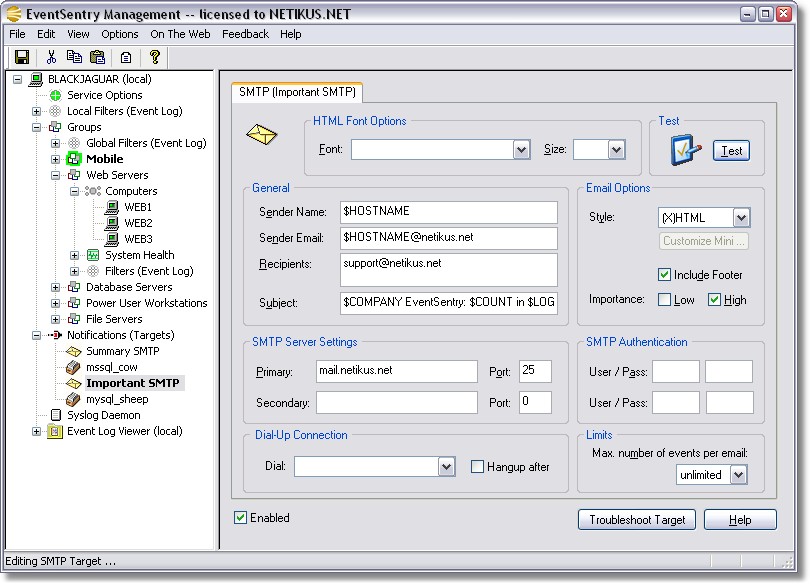
To view the details of an object located in the left tree pane you left-click or double-click it (see usability for this setting). The object details (such as target details) will then be loaded into the details pane and the active object in the left pane will become bold as seen below:

Menu
In addition to the main interface, you can customize the behavior of the EventSentry Administration application through the menu. With the menu you can:
| • | Adjust confirmation messages to enable or disable confirmation dialogs (e.g., before a filter is permanently deleted) |
| • | Adjust remote update settings |
| • | Send feedback, suggestions, or bugs directly to us |
| • | Visit our resources on the web |
This service does not need to be restarted when configuration changes are being made, this includes changes done through remote update. |
